Inhaltsverzeichnis:
- Autor John Day day@howwhatproduce.com.
- Public 2024-01-30 07:18.
- Zuletzt bearbeitet 2025-01-23 12:52.


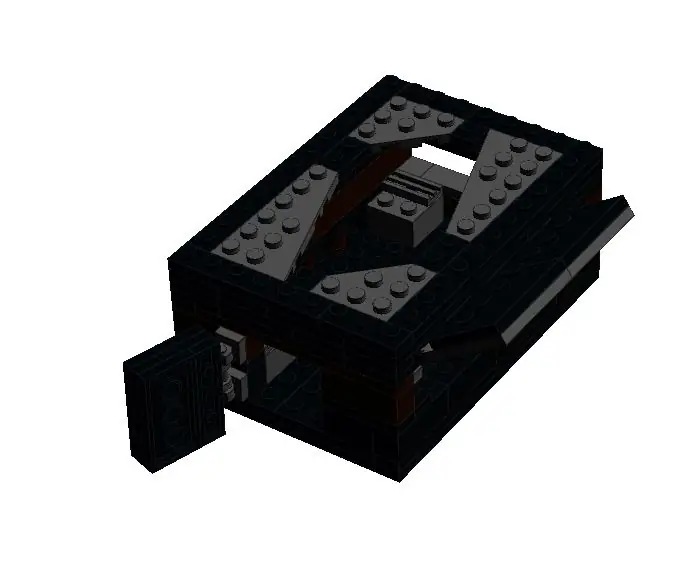
Ich habe vor kurzem einen Raspberry Pi 3 gekauft und beschlossen, dass ich mein ganz individuelles Gehäuse bauen möchte.
Als Vater eines 4-jährigen besitze ich auch eine große Menge Lego:) Das ist einfach perfekt! Nach vielen Prototypen habe ich mir also etwas einfallen lassen, mit dem ich ziemlich zufrieden bin und das ich mit der Welt teilen möchte!
Die benötigten Teile sind ziemlich häufig, aber wo es ein paar seltsame und wundervolle Teile gibt, müssen Sie möglicherweise kreativ sein.
Schritt 1: Sie werden brauchen…
5 x BRICK 1X2 (3004) - Farbe: 26 - Schwarz
1 x BRICK 1X2 (3004) - Farbe: 192 - Rotbraun
4 x BRICK 1X3 (3622) - Farbe: 26 - Schwarz
1 x BRICK 1X3 (3622) - Farbe: 192 - Rotbraun
4 x BRICK 2X2 (3003) - Farbe: 194 - Medium Stone Grey
1 x BRICK 1X4 (3010) - Farbe: 26 - Schwarz
1 x BRICK 1X4 (3010) - Farbe: 192 - Rotbraun
1 x BRICK 1X12 (6112) - Farbe: 192 - Rotbraun
7 x ROUND BRICK 1X1 (3062) - Farbe: 192 - Rotbraun
1 x BRICK 1X1 W. 1 KNOPF (87087) - Farbe: 26 - Schwarz
1 x BRICK 1X1 W. 1 KNOPF (87087) - Farbe: 192 - Rotbraun
1 x FLAT FLIESE 1X1 (3070) - Farbe: 194 - Medium Stone Grey
5 x PLATTE 1X1 (3024) - Farbe: 26 - Schwarz
4 x KÜHLERGITTER 1X2 (2412) - Farbe: 194 - Medium Stone Grey
6 x PLATTE 1X2 (3023) - Farbe: 26 - Schwarz
9 x PLATTE 1X3 (3623) - Farbe: 26 - Schwarz
1 x TELLER 1X3 (3623) - Farbe: 192 - Rotbraun
3 x ECKPLATTE 1X2X2 (2420) - Farbe: 26 - Schwarz
2 x PLATTE 2X2 (3022) - Farbe: 26 - Schwarz
5 x PLATTE 1X4 (3710) - Farbe: 26 - Schwarz
1 x TELLER 1X4 (3710) - Farbe: 192 - Rotbraun
1 x FLAT FLIESE 1X6 (6636) - Farbe: 194 - Medium Stone Grey
4 x PLATTE 2X3 (3021) - Farbe: 26 - Schwarz
1 x PLATTE 1X6 (3666) - Farbe: 26 - Schwarz
1 x PLATTE 2X4 (3020) - Farbe: 26 - Schwarz
3 x PLATTE 1X8 (3460) - Farbe: 26 - Schwarz
1 x TELLER 1X8 (3460) - Farbe: 192 - Rotbraun
2 x PLATTE 1X10 (4477) - Farbe: 26 - Schwarz
1 x TELLER 1X10 (4477) - Farbe: 192 - Rotbraun
1 x PLATTE 2X6 (3795) - Farbe: 26 - Schwarz
5 x PLATTE 1X12 (60479) - Farbe: 26 - Schwarz
3 x PLATTE 3X4 MIT 4 KNOPFEN (88646) - Farbe: 26 - Schwarz
2 x PLATTE 2X8 (3034) - Farbe: 26 - Schwarz
4 x PLATTE 4X12 (3029) - Farbe: 26 - Schwarz
2 x ECKPLATTE 45 GRAD. 3X3 (2450) - Farbe: 194 - Medium Stone Grey
2 x RECHTE PLATTE 3X6 B. WINKEL (54383) - Farbe: 194 - Medium Stone Grey
2 x PLATE 1X1 W. UP RIGHT HOLDER (15712) - Farbe: 194 - Medium Stone Grey
1 x TELLER 1X2 W. STICK (2540) - Farbe: 194 - Medium Stone Grey
2 x SCHARNIERPLATTE 1X4 (4315) - Farbe: 26 - Schwarz
2 x DACH 4X4 MIT SCHARNIER (4213) - Farbe: 194 - Medium Stone Grey
…. 104 Stück!
Schritt 2:

Schritt 3:

Schritt 4:

Schritt 5:

Schritt 6:

Schritt 7:

Schritt 8:

Schritt 9:

Schritt 10:

Schritt 11:

Schritt 12:

Schritt 13:

Schritt 14:

Schritt 15:

Schritt 16:

Schritt 17:

Schritt 18:


Schritt 19:
Empfohlen:
Custom Lenkrad (Pot als Positionssensor) - Gunook
Benutzerdefiniertes Lenkrad (Pot als Positionssensor): Haftungsausschluss: Geben Sie mir nicht die Schuld, dass ich nicht Schritt für Schritt angezeigt habe, dies soll nur eine Referenz sein und ich sage nur, was ich getan habe und das Ergebnis hat einige Kernfehler wie Rauschen, also machen Sie nicht genau das, was ich getan habe, und erwarten Sie ein hervorragendes Ergebnis, und f
Ultimate Lego Raspberry Pi Case - Gunook
Ultimate Lego Raspberry Pi Case: Lego muss eine der größten Erfindungen des 20 . Indem ich meine eigenen mache, kann ich sie anpassen
Redbear BLE Nano V2 Custom Controls mit PfodApp - Keine Codierung erforderlich - Gunook
Redbear BLE Nano V2 Custom Controls mit PfodApp - Keine Codierung erforderlich: Update: 15. September 2017 - Diese Anleitung wurde aktualisiert, um die neueste Version von RedBear BLE Nano, V2, zu verwenden. Die vorherige Version dieser Anleitung, die auf RedBear BLE Nano V1.5 abzielte, ist hier verfügbar. Update 15. November - 2017 Also
Adafruit Feather NRF52 Custom Controls, keine Codierung erforderlich - Gunook
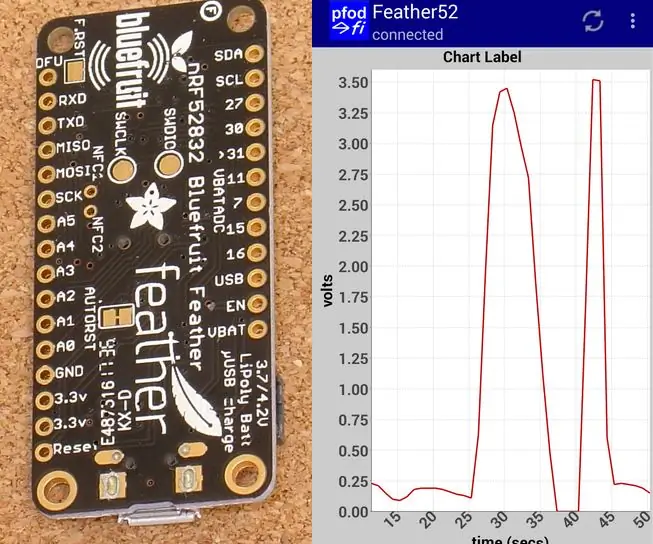
Adafruit Feather NRF52 Custom Controls, keine Codierung erforderlich: Update 23. April 2019 – Für Datums-/Zeit-Plots, die nur Arduino millis() verwenden, siehe Arduino Date/Time Plotting/Logging Using Millis() und PfodApp Der neueste kostenlose pfodDesigner V3.0.3610+ generiert komplette Arduino-Skizzen zum Plotten von Daten gegen Datum / Uhrzeit u
LEGO Raspberry Pi Zero Case - Gunook
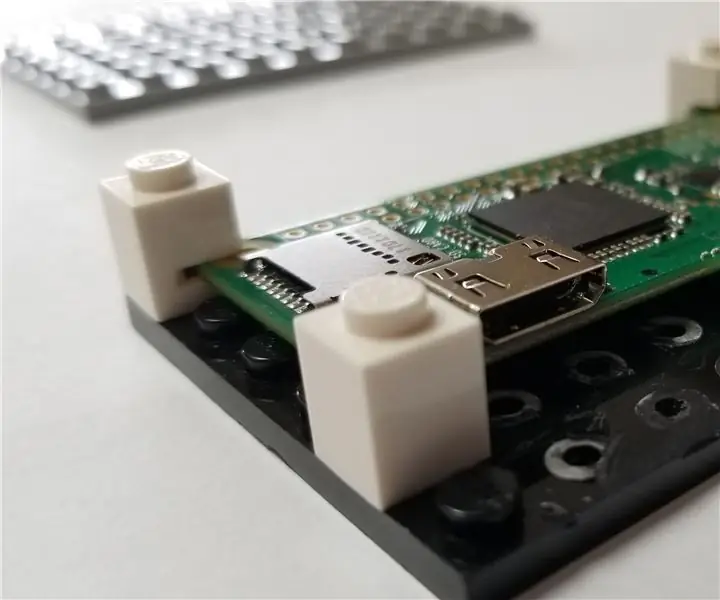
LEGO Raspberry Pi Zero Case: Wir suchten nach einer einfachen Möglichkeit, einen Raspberry Pi Zero in LEGO-Builds zu integrieren. Es gibt einige Auswahlmöglichkeiten für LED-Bricks auf dem Markt, aber aufgrund von Einschränkungen bei Verwendung, Leistung oder Funktionen hat keine für uns funktioniert. All dies bietet der Pi in kleiner Form
