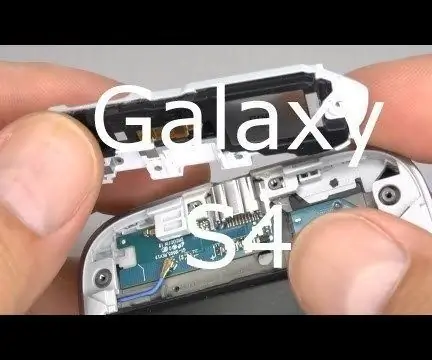
Inhaltsverzeichnis:
- Schritt 1: VİDALARI SÖKÜYORUZ
- Schritt 2: ALT BÖLMEYİ NCELİYORUZ
- Schritt 3: ERÇEVEYİ ANA EKRANDAN AYIRIYORUZ
- Schritt 4: ARKA BÖLMEYİ ÇIKARTIYORUZ
- Schritt 5: USB KORUMA APARATINI IKARTIYORUZ
- Schritt 6:
- Schritt 7: ANA EKRAN TUŞU BAĞLANTI KABLOSU
- Schritt 8:
- Schritt 9: ÜST BÖLMEYİ NCELİYORUZ
- Schritt 10: YAKINLIK VE HAREKET SENSÖRÜNÜ İNCELİYORUZ
- Schritt 11: ÜST BÖLMEYİ SÖKÜYORUZ
- Schritt 12: KAMERAYI SÖKÜYORUZ
- Schritt 13: ARKA ANA BÖLMEYİ NCELİYORUZ
- Schritt 14: TİTREŞİM MOTORU
- Autor John Day day@howwhatproduce.com.
- Public 2024-01-30 07:18.
- Zuletzt bearbeitet 2025-01-23 12:52.
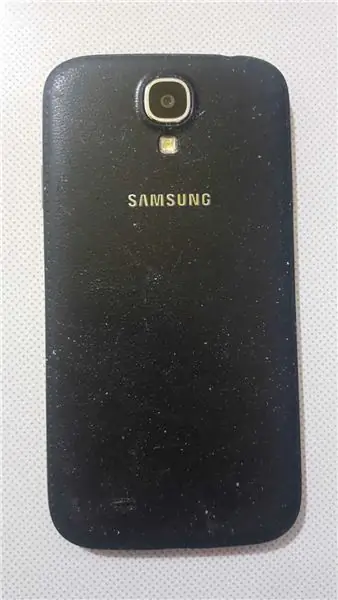

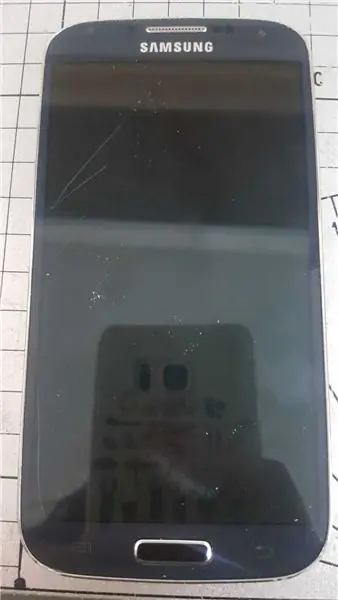
VİDEOYLA BİRLİKTE TAKİP EDEBİLİRİZ.
Schritt 1: VİDALARI SÖKÜYORUZ
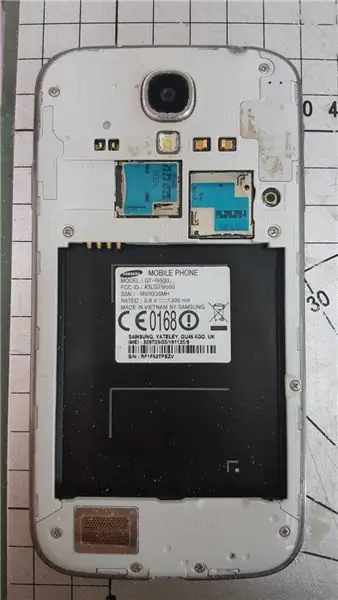
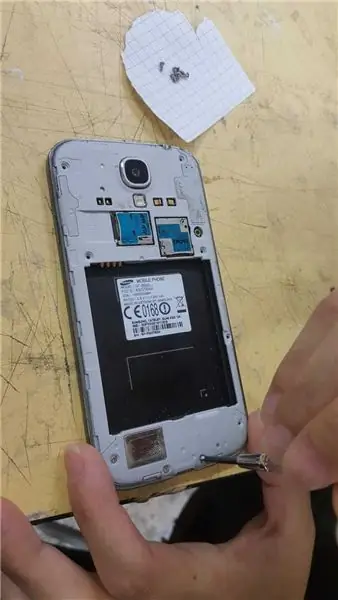
ARKA KAPAĞI IKARIP NCE TORNAVİDA YARDIMIYLA VİDALARI SÖKÜYORUZ
-BURADA HOPARLÖR, SİM KART VE MİCRO SD KART BÖLMELERİNİ GÖRÜYORUZ.
Schritt 2: ALT BÖLMEYİ NCELİYORUZ
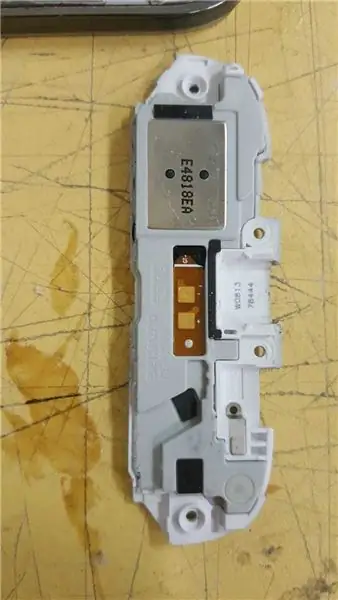
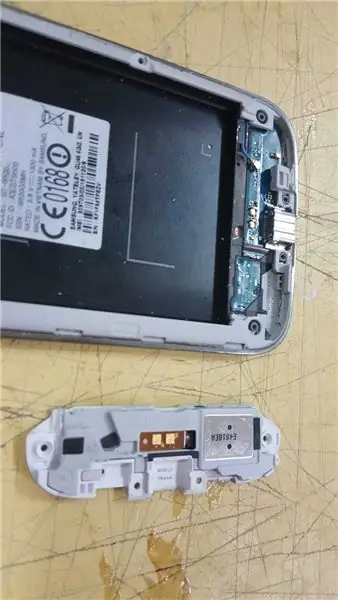
VİDALARI SÖKTÜKTEN SONRA ALTTAKİ APARATI BİR PLASTİK BIÇAK YARDIMIYLA YAVAŞÇA KALDIRIYORUZ.
-HOPARLÖR BAĞLANTISI, HAVALANDIRMA BURADAN SAĞLANIYOR.
-3G VE GSM ANTENİ BURADA BULUNUYOR.
Schritt 3: ERÇEVEYİ ANA EKRANDAN AYIRIYORUZ
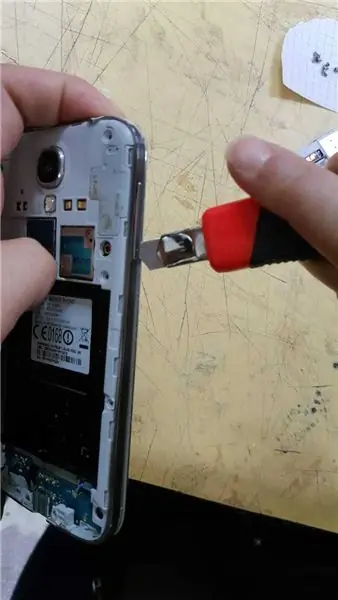
BİR FALÇATA YARDIMIYLA ÇERÇEVEYİ HAFİF BİR ŞEKİLDE ANA EKRANDAN AYIRIYORUZ.
Schritt 4: ARKA BÖLMEYİ ÇIKARTIYORUZ
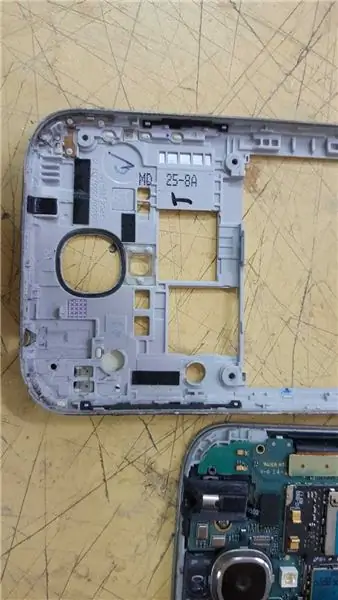
ERÇEVEYİ SÖKTÜKTEN SONRA ARKA BÖLME KOLAYCA ELİMİZE GELİYOR.
-BU BÖLMEDE KIZILÖTESİ LED BAĞLANTI KABLOSU, GPS ANTENİ, Wİ-Fİ VE BLUETOOTH ANTENİ KARŞIMIZA ÇIKIYOR.
Schritt 5: USB KORUMA APARATINI IKARTIYORUZ
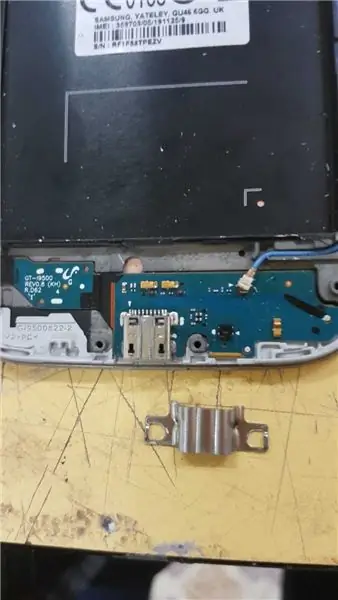
ARKA EKRANI IKARDIĞIMIZDA KARŞIMIZA USB KORUMA APARATI ÇIKIYOR VE ONU DA OK KÜÇÜK BİR HAMLEYLE YERİNDEN AYIRABİLİYORUZ.
Schritt 6:
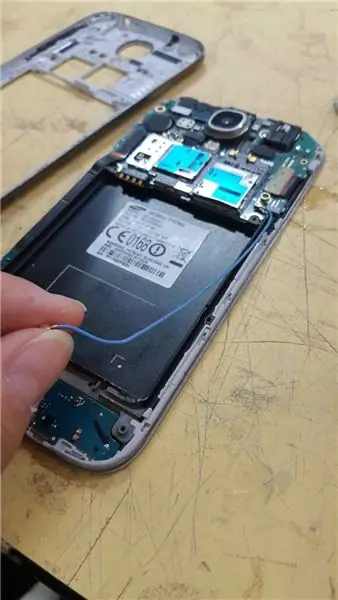
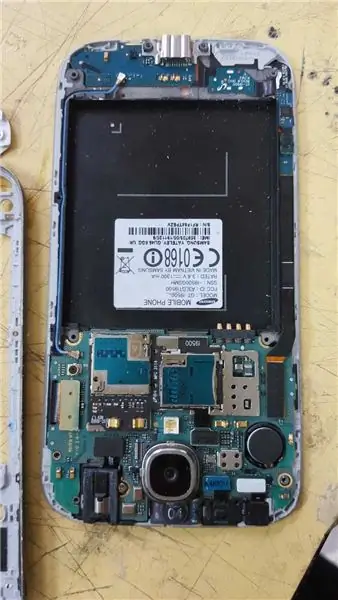
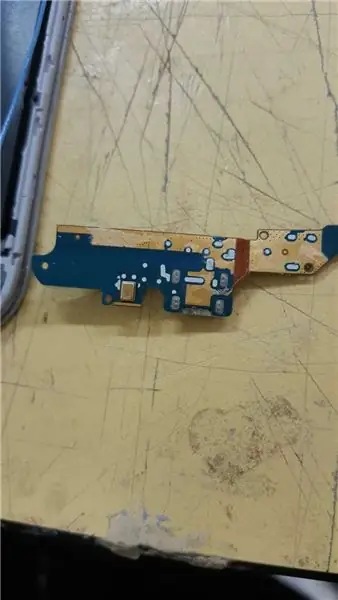
BURADA KULAKLIK SOKETİNİ, ANA EKRAN KABLOSUNU VE MAVİ UZUN KABLO OLAN 3G, GSM ANTENİ BAĞLANTI KABLOSUNU GÖZLEMLİYORUZ.
Schritt 7: ANA EKRAN TUŞU BAĞLANTI KABLOSU
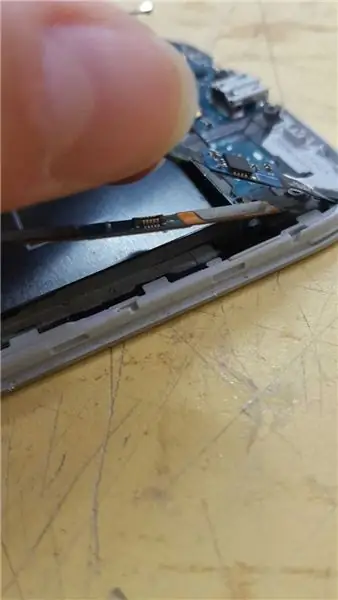
TELEFONUN SOL YANINDA ANA EKRAN TUŞUNUN VE DOKUNMATİĞİN ETKİLEŞİMİNİ SAĞLAYAN BAĞLANTI KABLOSUNU GÖRÜYORUZ.
Schritt 8:
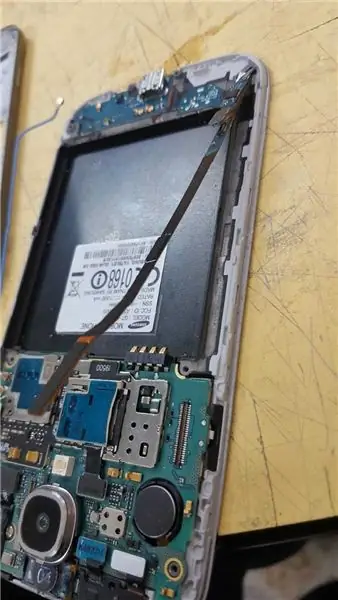
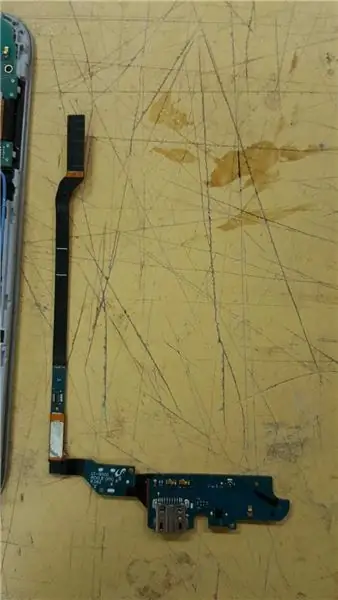
Schritt 9: ÜST BÖLMEYİ NCELİYORUZ
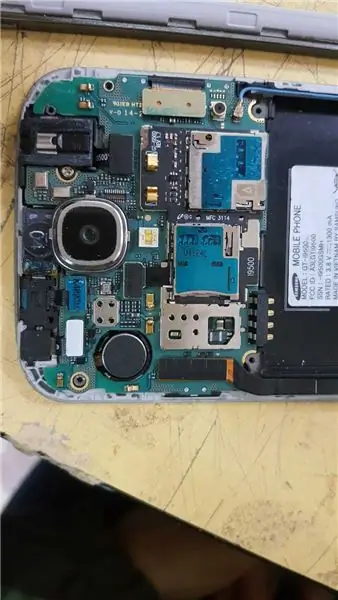
BURAYA GELDİĞİMİZDE ÖN KAMERA, KULAKLIK VE YAKINLIK SENSÖRÜ BAĞLANTILARINI GÖZLEMLİYORUZ.
Schritt 10: YAKINLIK VE HAREKET SENSÖRÜNÜ İNCELİYORUZ
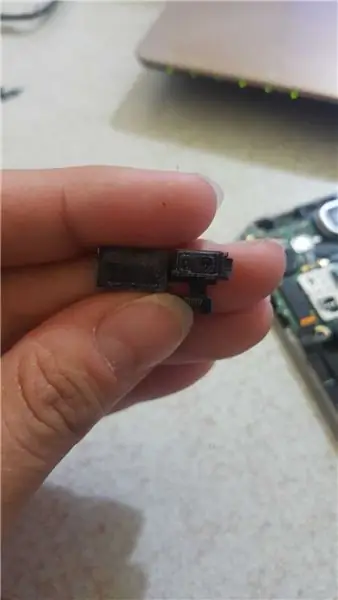
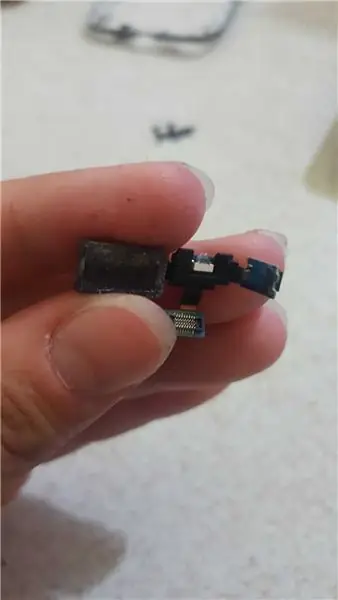
ÜST BÖLMEDEN KABLOSUNU IKARTARAK VE PARÇALARA ZARAR VERMEYECEK YAVAŞLIKTA SENSÖRÜ YERİNDEN ÇIKARTIYORUZ. İÇERİSİNDE KIZILÖTESİ BİR LED BULNUUYOR.
Schritt 11: ÜST BÖLMEYİ SÖKÜYORUZ
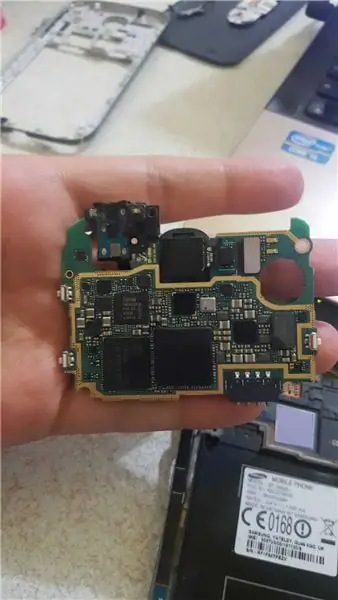
TÜM BAĞLANTI KABLOLARINI AYIRDIKTAN SONRA ÜST BÖLMEYİ YERİNDEN AYIRIYORUZ.
SOL YANDA İKİ TANE TUŞ GÖRÜYORUZ VE BU TUŞLAR SES ARTIRICI, SES AZALTICI OLARAK İŞLEV GÖRÜYOR.
SAĞ YANDA TEK BİR TANE EKRAN KİLİT ANAHTARI İŞLEVİNİ GÖRÜYOR.
Schritt 12: KAMERAYI SÖKÜYORUZ
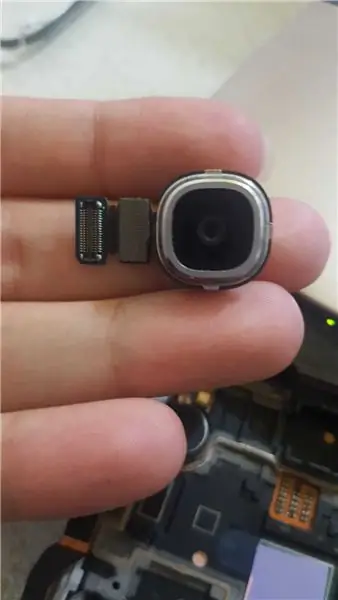
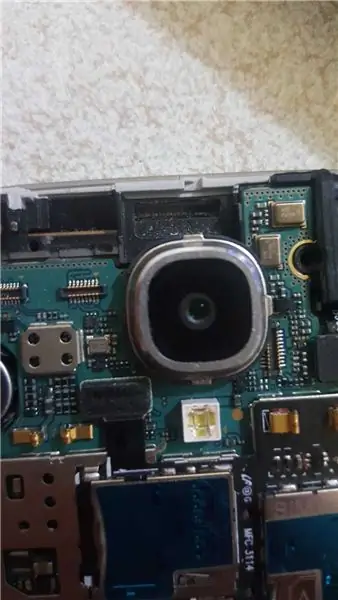
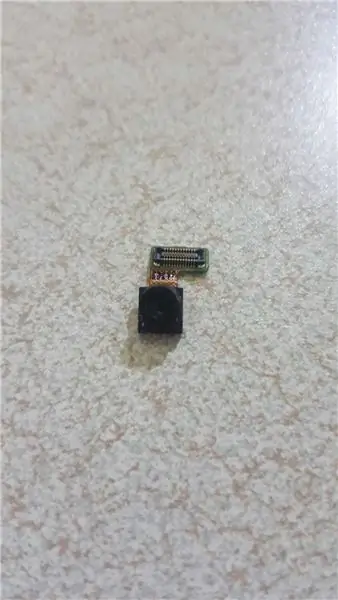
ÜST BÖLMEYLE BAĞLANTI KURDUĞU KABLOYU YERİNDEN IKARIYORUZ VE YİNE IHR APARATA DAVRANDIĞIMIZ GİBİ YAVAŞÇA KAMERAYI YERİNDEN AYIRIYORUZ.
Schritt 13: ARKA ANA BÖLMEYİ NCELİYORUZ
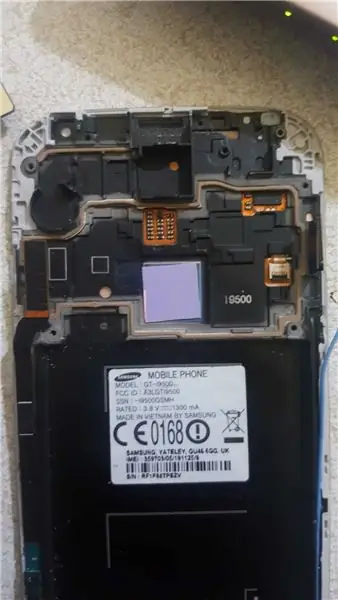
ÖNÜMÜZDE GÖRDÜĞÜMÜZ MOR KARE ŞEKLİNDEKİ KAĞIT BENZERİ EY İŞLEMCİYLE BİRLİKTE ÇALIŞARAK SUTUCU VE YAVAŞLATICI OLARAK İŞLEV GÖRÜYOR.
Schritt 14: TİTREŞİM MOTORU
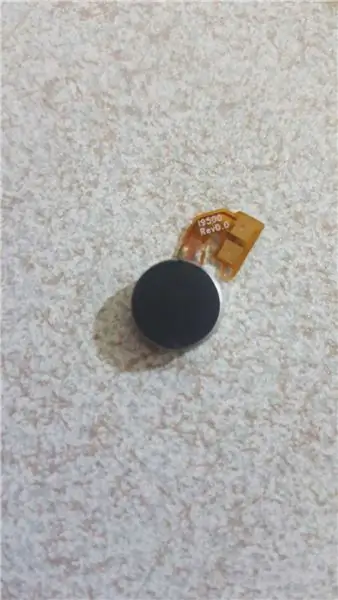
KABLOSUNU AYIRARAK TİTREŞİM MOTORUNU YERİNDEN IKARTIYORUZ.
Empfohlen:
LineageOS auf Samsung Galaxy A3 (2016) installieren: 6 Schritte
LineageOS auf Samsung Galaxy A3 (2016) installieren: Smartphones sind eine tolle Erfindung und machen das Leben viel einfacher. Ärgerlich sind jedoch die wuchernden Datensammlungsaktivitäten von Smartphone-Betriebssystemen und -Apps. Leider gibt es Leute da draußen, die an Alternativen wie LineageOS, einem
